Sidebar
wiki:advanced:x2goplugin
Table of Contents
Obsolete page: x2goplugin is removed without a replacement
X2Go Browser Plugin
For setting up the X2Go Browser Plugin, you have to set up a client system, a web server system and an X2Go server. Web server and X2Go Server can be on the same machine. In the passages below, we will refer to these three systems by the names client, web server and X2Go Server.

Using the packages x2goplugin on the client system and x2goplugin-provider on the web server offers X2Go Client's functionality within various Browsers, such as Firefox, Chrome, Konqueror and Epiphany.
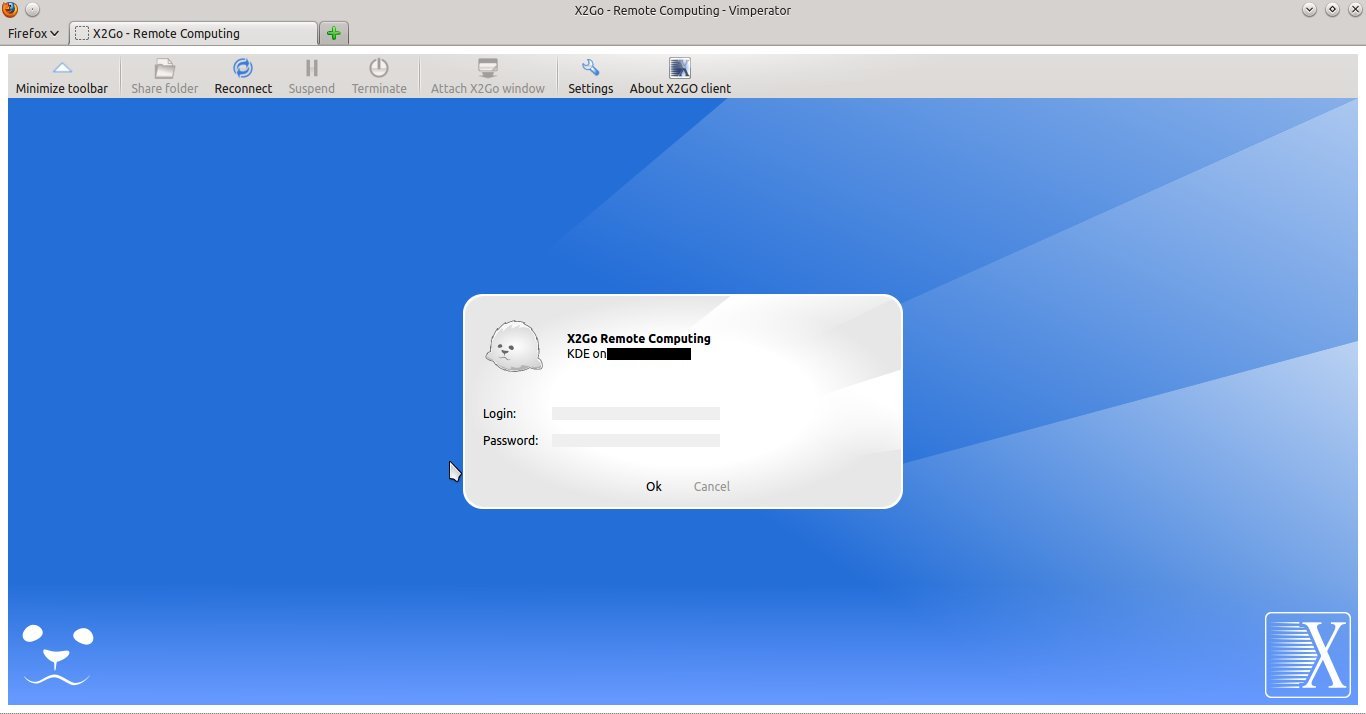
This happens by providing a special website on the web server, for example with apache, to the client. The X2Go Plugin on the client then receives its X2Go session profile configuration via this website and then offers a login to the X2Go Server configured in the served session profile.
Prerequirements
We assume that the appropriate package mirrors have already been configured. Please see X2Go Server Installation for further information.
Client
Installation Ubuntu and Debian GNU/Linux
apt-get install x2goplugin
After restarting the browser, the plugin is ready to use.
Installation Windows
The X2Go Browser Plugin for Windows is currently in development and will be released soon. Please help us improve the wiki and write installation instructions.
Server
Installation Ubuntu / Debian GNU/Linux
apt-get install apache2 x2goplugin-provider
This installs the necessary files and dependencies. The plugin is instantly usable on the server via localhost/x2goplugin.html. Using it on the server is not the desired scenario, so we need to change the configuration. The file x2goplugin.html lies at /usr/share/x2go/plugin/.
It is recommended to create a backup of the original file before modifying it.
Quick Setup
If you want a quick setup, e.g. for testing, best make backup of /usr/share/x2go/plugin/x2goplugin.html. The a bit more complicated, but robust way is described below.
cp /usr/share/x2go/plugin/x2goplugin.html /usr/share/x2go/plugin/x2goplugin.html.orig
The file's content can then be modified to reflect your own requirements. At a minimum you should substitute server=localhost with your server's public IP / hostname. After that you can access X2Go via your browser:
http://<your-server's-IP-or-hostname>/x2goplugin.html
This is the original content of the file:
- x2goplugin.html
<!DOCTYPE HTML PUBLIC "-//W3C//DTD HTML 4.01 Transitional//EN">
<html>
  <head>
    <title>X2Go Application Service</title>
  </head>
  <body onload="checkPlugin()">
    <div id="x2goplugin">
    <object
        src="location"
        type="application/x2go"
        name="x2goplugin"
        palette="background"
        height="100%"
        hspace="0"
        vspace="0"
        width="100%"
        x2goconfig="
session=X2Go-Demo-Session
server=localhost
user=
sshport=22
command=XFCE
rootless=false
sound=true
exportfs=true
speed=adsl
compression=16m-jpeg
quality=9
dpi=120
kbdlayout=
kbdtype=auto
showtoolbar=true
showstatusbar=true
usekbd=true
soundsystem=pulse
soundtunnel=true
defsndport=true
print=true
rootless=false
published=false
applications=WWWBROWSER, MAILCLIENT, OFFICE, TERMINAL
">
    </object>

    </div>
  </body>
</html>
Setup
You can certainly also move the file x2goplugin.html into /var/www. Then it is recommended to remove the link x2goplugin.conf within /etc/apache2/conf.d, which is just a link to /etc/x2goplugin-apache.conf.
ls -al /etc/apache2/conf.d/x2goplugin.conf
lrwxrwxrwx 1 root root 33 Mär 22 23:42 /etc/apache2/conf.d/x2goplugin.conf -> ../../x2go/x2goplugin-apache.conf
root@x2goserver:/etc/apache2/conf.d
This file contains the alias which defines an alias for the url http://<your-server's-IP-or-hostname>/x2goplugin.html. (The URL http://<your-server's-IP-or-hostname> still delivers the expected file /var/www/index.html.)
cat /etc/x2go/x2goplugin-apache.conf
Alias /x2goplugin.html /usr/share/x2go/plugin/x2goplugin.html
wiki/advanced/x2goplugin.txt · Last modified: 2020/05/28 22:58 by danger89
Imprint & Legal Disclaimer -
Data Protection & Privacy Statement


Except where otherwise noted, content on this wiki is licensed under the following license: GNU Free Documentation License 1.3